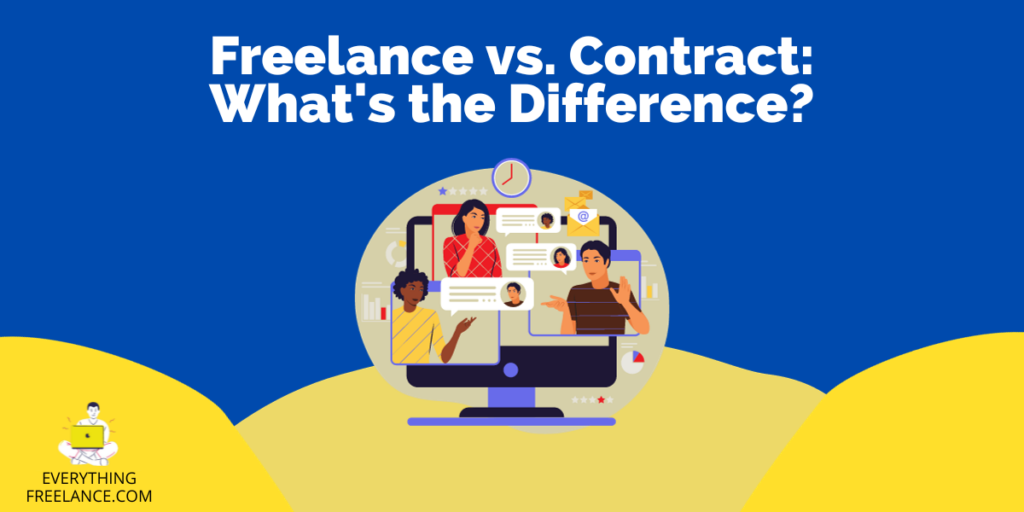
Automation tools in marketing platforms make working with them efficient in driving leads and opportunities through the sales funnel. If you had to do everything an automation job does manually, it would take quite a bit of time. This is even more so when you consider that an automation set tends to complete predetermined marketing tasks for multiple recipients.
Therefore, you can imagine how hard growing your audience and customer retention would be if you had to do all this for so many people consistently. There just isn’t enough time for that, but thankfully, you don’t need to worry about it. MailChimp is one of the many platforms that marketers use to improve customer engagement and click through rates. Below is a wealth of information that should help you understand MailChimp and how its automation works more intimately.
Quick Intro To MailChimp

MailChimp stands among the most recognized and reliable email marketing solutions on the market. Businesses, private individuals, and even the agencies freelancers work for use the platform for its email templates, landing pages, social media interactions, creation of signup forms, transactional email functionality, etc. Not only does the platform offer a free plan, but it also has cost-effective paid subscriptions that provide a winning combination of features and integrations for its customers to take advantage of.
Many software systems seem to be scaled too far toward one extreme. In other words, they only work well for small and potentially medium-sized businesses, or only large and some medium-sized businesses can use them effectively. However, MailChimp has designed an optimally scalable platform that can offer the same utility level to a small startup that it can to a large organization.
Functionality, customizability, intuitiveness, and support are four of the pillars that MailChimp has delivered time and time again. You can even use MailChimp’s mobile app from your Android or iOS device for all your management tasks. The web platform syncs the data from your app, so you can switch between both versions as necessary.
Now it’s time to focus on marketing automation and how you can take advantage of it with MailChimp.
What Is Marketing Automation?
Even outside of the context of marketing, some tasks are very repetitive, and doing them consumes your focus. Marketing automation is a concept geared towards eliminating these tasks, so you can better focus on more important business areas. MailChimp’s automation tools help you to send the right message at the right time to the right person, without having to think twice.
You get to use previous sales, preferences, and behavior to help you target people for your campaigns. With the information you gather, you can reach out to persons about items in their shopping carts, welcome new subscribers, and even get back customers who seem to have abandoned your platform. No manual effort is required for any of these things.
So, in what specific ways does marketing automation help you? First, there is the matter of your brand identity. You can use platforms, such as Instagram and Facebook, for their ad campaigns, to help you to reach new people who bear similarities to top customers.
New contacts are always great, and you can display your offerings for volunteers, students, and customers by using onboarding automation tools. You can even leverage pseudo-relationship maintenance by automatically extending a warm welcome or an annual happy birthday email to people, so they know how important they are.
Automation also boosts your ability to sell in the following ways:
- Following up on customer purchases by sending useful information, such as instructions, or seeking feedback to understand what you are doing well and where you need to improve.
- Recommending related products or services to customers using aesthetically pleasing designs that are personalized and brand bearing.
- Secure potentially lost sales by sending out reminders to help customers remember what they have sitting in their carts.
- Using automatically displaying ads to turn website visitors into customers.
Boosting customer loyalty is always a plus, and the personalized experience that comes with automation helps you create customer advocates through an engaging and rewarding experience. One of the simplest approaches is to welcome new shoppers convincingly and reward top spenders for their patronage.
You should note that automation tasks are not set in stone. You can customize your automation settings, test them, try them in their new form, and repeat. The platform is designed to help you find the optimal automation for any situation. You can even set up educational resources, use your RSS feed to share blog updates, send membership renewal reminders, offer discounted product updates, etc.
You can also trigger event-based emails, and you can use them with custom automations that you create to meet your business’s unique needs. Of course, you can manage your audience trigger settings as needed. For example, you may find that your sale conversion rate is better with a lower send frequency. With such an insight, you can adjust the audience trigger event-based email setting to have a less frequent send time.

How To Use MailChimp Automation
Before you think about creating an automation with MailChimp, remember to review the allowances of your subscription. While single email automation is available with all pricing plans, you may not have access to automated email series.
This is a look at creating a classic automation, which has differences from order notification, product retargeting, and abandoned cart automations. If you’re interested in any of those, be sure to review the detailed step by step instructions for them.
Apart from product retargeting, order notifications, abandoned cart, or date-based automations, your subscribers only get each email in your automation setup a single time.
If you’re using a preset automation, you can choose to make it a single email or a whole series. Note that going the series route is not accessible to all pricing plans. If you don’t wish to go the preset route, you can start from scratch.
When you are ready to begin creating your first classic animation, use the following steps:
- Click on the create icon located on your account dashboard.
- Select the “email” option.
- Select the “automated” option.
- Select a category, and choose the automation type that you want to use.
- If you cannot find an automation that suits your purpose, select “custom” to start from scratch. For example, if you want to be like Mean Mail founder Vicky Simmons, irreverent cards can be made and sent to bring out your sense of humor.
- Select the “single email” or “email series” option, depending on the frequency you prefer.
- Enter a name for your campaign
- There is also a drop-down that you can use to choose the designated audience.
- Click on the “begin” button to wrap up your creation.
With the steps above, you have created a new automation, but it also takes customizing it for things to work the right way. One of the most important next steps is the email design area. When you are ready to get started, go through the following steps:
- Click on the “design email” button near your automation details.
- The setup step comes next, and this is where you put in the basic information for the email. This includes your email name, subject, preview text, from name, from email address, and a Google analytics title for it. Remember that an automation can have numerous emails. You can use automation merge tags in the subject line to display the message’s numeric position.
- Click on the “next” button.
- Choose your desired templates.
- Design your email in the design step.
- Use MailChimp’s preview and test tools to test the messages, or you can send yourself a test email.
- Return to your automation timeline by clicking “save and return to workflow.”
The workflow settings, including your from email address, from name, and tracking options, are all editable. You may head to the automation builder’s email step and click on “edit settings” to switch things up. One of the things you can do is still manually update an individual email from name, from email address, or subject line.
The puzzle’s final piece is to review your automation and start it since you set everything up. Go through the following steps:
- At the confirm stage, look over the provided checklist and use the “edit” and “resolve” buttons to make changes. Maybe your recipient list should be a collection of food brands instead of your list of vintage car owners. Alternatively, you may not have enabled tracking of clicks and opens, but you’ve decided that you want to do it now.
- Once you’re ready to start things off, click on the “start sending” button.
- The “start automation workflow” popup appears, which requires you to click “start sending” there as well.
Note that you can add subscribers to your automation manually after it has started.
Advertising is always going to gain you more eyes than not doing so. When the language app Duolingo conducted its first-ever advertising campaign, it already amassed 300 million users. Imagine what the team could have achieved with automation.
What Kinds of Automation Does MailChimp Offer?
When setting up a classic automation in MailChimp, the types that you get access to are as follows:
- Tags – You can leverage tags contact profiles may have with this option, as it only sends when you add a said tag to a contact.
- API – These automations are sent in response to an API call.
- Featured – These are MailChimp recommended automations that use your account details for relevance.
- Subscriber activity – Whenever there are changes in audience data or signups, these automations are sent.
- E-commerce – These automations depend on buyer activity in your online storefront.
- Date based A date triggers these automations to be sent.
- Custom – You can use various unique settings to trigger these automations.