Many people are currently working from home and need to know how to create an invoice on PayPal. The process is extremely simple, but it does take a little time if you’ve never done it before. We’re going to help you create and send an invoice from your PayPal account.
1. Create a PayPal Account
If you don’t already use PayPal, you must create an account before doing anything else. Once that is done, it is free to create and send invoices.
2. Create the Invoice
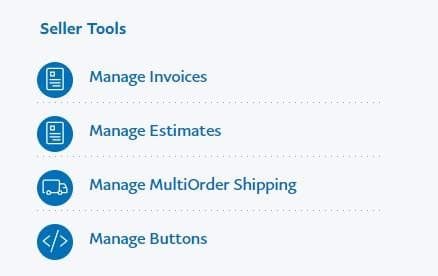
From your welcome page, you are going to scroll down to the area right under your activity and find the seller tools. Then, click on ‘Manage Invoices.’

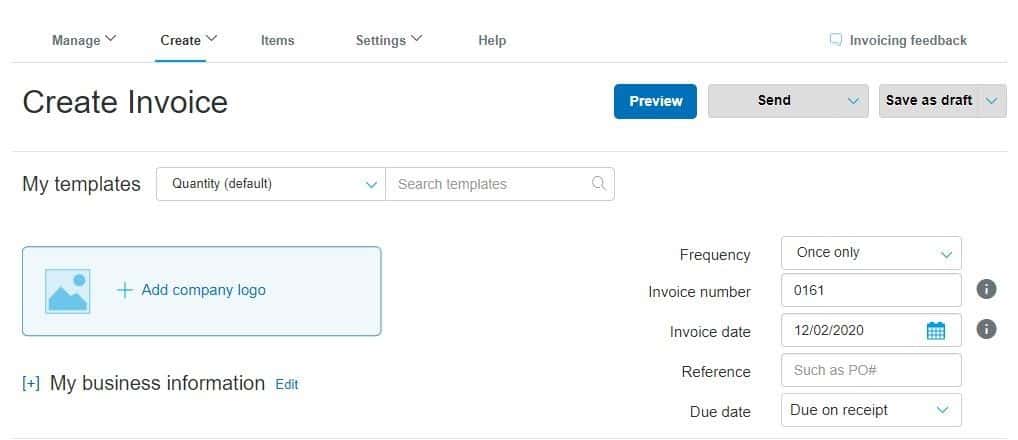
You can easily see that there is a dark-blue button to click to create the invoice. Click on that, and we can move to the next step.

3. Fill in Required Information
Right away, you can get bombarded with information, but this is the time to customize your experience. Small businesses are sure to want to take the time to add a logo and determine invoice numbers and dates. You can also include your business information, which is shown on every invoice on PayPal.

You can set up the invoice frequency so that they send every week, month, quarter, year, or customize everything to meet your needs. Generally, PayPal starts with an invoice number of 0001, but you can change this, as well.
Select the date that you want the invoice to send, not the current date. If you send an invoice for everything you do, this may not apply. Those who send invoices for purchase orders may include that information in the reference section.
Most people choose ‘due on receipt,’ but you can have the invoice due within 10 to 90 days, as well.
To add your company logo, click the ‘add company logo’ hyperlink. This opens up a dialog box so that you can search on your computer for the right image. It then appears in that area.
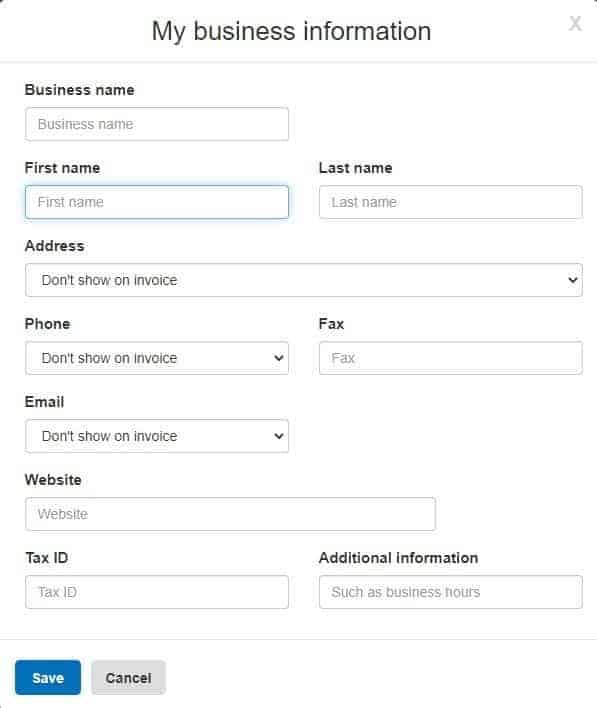
You can also edit your business information and include an address, email address, and telephone number.

Follow the prompts and click save when you’re done.
4. Add More Information
From there, you are going to fill in the rest of the information.

There are a variety of invoice styles, including Services and various Goods. Whether they are digital, picked up/dropped off, or shipped, you can create an invoice for all of them.
If you choose the ‘service’ one, the recipient’s address isn’t included or necessary. Otherwise, the recipient provides their shipping address when they pay the invoice.
You can improve and customize the invoice by changing the quantity to hours, amounts, or something else. It’s also possible to change the details, such as tax, price, description, and more. For example, discounts can be included, as well as others.
We find it best to provide a short and descriptive description so that the person knows what they’re being billed for. Then, include the price, any tax, and it automatically updates with the right amount. You can add multiple lines and keep a running tab, which we show below.
We don’t recommend using the ‘allow partial payment’ feature unless they are paying upfront for some of the costs. This is completely up to you.
5. Finishing Up
Now, it’s time to add a note to the recipient and any terms and conditions if applicable. You may also attach files and add a memo for yourself.
If you’re keeping a running tab of your work throughout the week or month, you can save it as a draft. Otherwise, you can send or preview it before sending. PayPal offers a help feature so you can learn more and manage your account more effectively.
Be aware that PayPal can use cookies to improve your experience. If you continue, you’ve got to accept the cookies so that it can show you personalized ads and much more. It’s possible to do more with PayPal. We hope this has helped you.


